Baby Handprints
For babies and toddlers
Making baby handprints is one way of capturing those early months and years of a child's life. Check out these ideas for making a baby handprint pictures, salt dough handprint plaques and ornaments
|
|

Making a picture is fun for you to do with a very small baby as a momento, but these crafts are also fun for toddlers and preschoolers who are fascinated by their hands and feet and will love to get messy!
Ideas for Baby Handprint Crafts
1. Baby Handprints - Salt Dough Plaque
Make your own baby handprint plaque! It will be much nicer than the kits you get in the stores and much cheaper! We have used salt dough as it works really well, it lasts, and you can decorate it easily.
You could make up some no-bake clay, but we have that for thicker objects like plaques it tends to flake and crack at the edges once it's dried - not great for a plaque that's going on the wall!
TIP: Remember salt dough has to bake long and slow (approx. 3 hours). If your kids are making something they want to decorate perhaps make it early in the morning so you can decorate later in the day.
Instructions
1. Make up a batch of salt dough. Click here for our really easy salt dough recipe.
This recipe will allow you to make two small plaques (for baby-18 month old size hands). If you want to make a larger plaque for bigger hands make the whole amount.
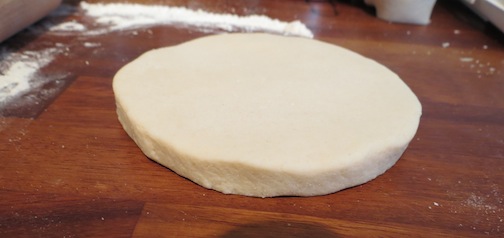
2. Once you have made up your dough knead it well and roll it out onto a lightly floured surface. Don't roll it too thin as you need depth to press the hand into - about 1 inch thick.
3. Use a small round bowl turned upside down and cut round it as a template to create the plaque.
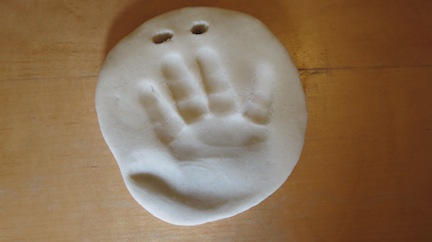
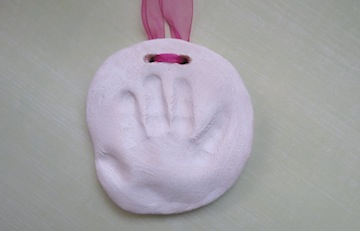
4. Press the child's hand firmly into the dough.
5. Use a skewer to make two good-size holes at the top where you can tie a ribbon. If you want to pin it to the wall you could just make one hole for a nail.
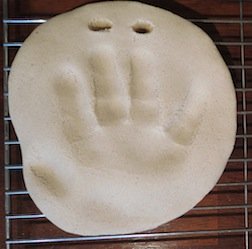
6. You need to cook this plaque long and slow so it does not get bubbles and lose the definition of the handprint.
We recommend cooking it for approx. 3 hours at around 110C (230F) until it is really well dried out. It might need more time as it's quite thick.
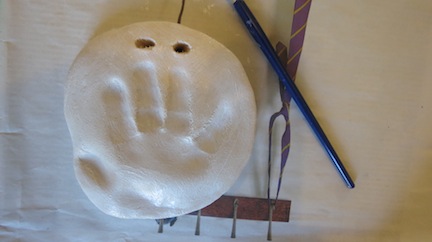
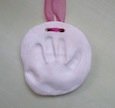
6. You can decorate the plaque how you like. Why not varnish it without painting it for a natural look? Or get your child (if they are old enough) to paint it?
We painted ours plain white (using thick poster paint, though acrylic works well too) and tied it up with a ribbon to hang in Eva's bedroom.
2. Baby Handprints - Pictures
Baby handprints can be used to make such sweet pictures or to make cards with - brilliant for those thank you's to the grandparents or father's day cards!
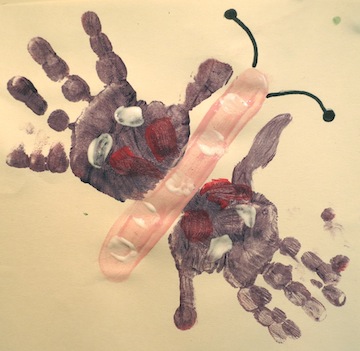
Handprint Butterfly
I love this and we had such fun making it. It's pinned to my kitchen cupboards:)
1. Paint some purple paint onto your child's hand with a brush and print it down. Spin the paper and do it again leaving a gap for the butterflies body.
2. Add patterns to the wings, a body and antennae.
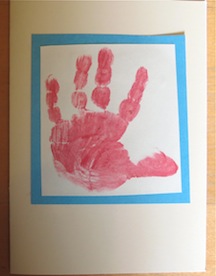
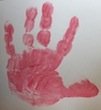
Handprint Card:
A simple handprint framed in some contrasting paper.
TIP: If you like, you could draw a heart in red crayon or felt-tip onto the palm of the hand and make it into a valentine's day card!
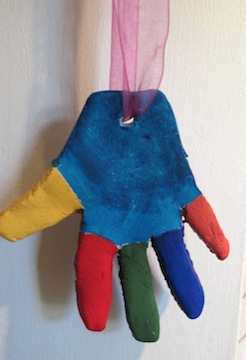
3. Salt Dough Handprint Ornaments
Making an ornament out of a child's handprint is something you could do to mark a birthday or another important occasion in you little one's life.
Your child can decorate it how they like and because, if varnished, salt dough lasts and it could hang in a room or even become a Christmas decoration.
Instructions
1. Make up a batch of salt dough using our easy salt dough recipe - found here.
The quantities this recipe makes will mean you have leftovers so you can keep it, well sealed, in the fridge for a few weeks!
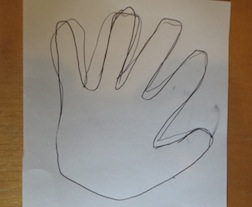
2. Help your child draw around their hand on a piece of paper and cut it out.
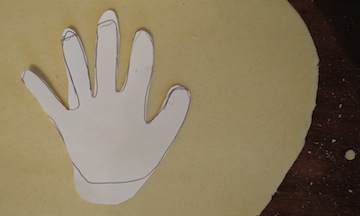
2. Knead the dough and roll out to about 0.5 inch thick. Place the cut out on top of the salt dough and, using a knife, cut around the shape.
TIP: Make sure you don't make the fingers too thin or they might break off.
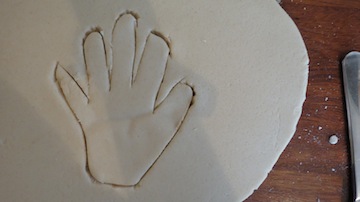
4. Remove the surrounding dough and even rough edges with your fingers. Make a substantial hole at the wrist so that the hand can be hung up.
Bake long and slow in a cool (120C/230F) oven for 2-3 hours.
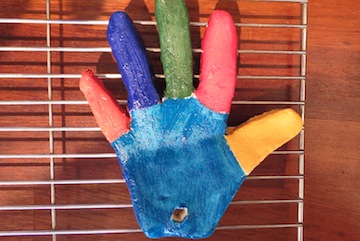
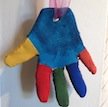
5. Get decorating! We had fun painting this hand in multi-colours. One idea you could do is to paint the child's initials/name and the date you made the hand on it.
Cover with clear varnish when the paint is fully dried and let it dry on a cooling wrack so it does not stick to the surface you are working on.
If you want more handprint craft ideas for older children check these ideas for making handprint flowers.
We hope you enjoyed these ideas for being creative with baby handprints. Do share any handprint crafts you do - we would love to see them!


