Quick Salt Dough Recipe
For Ages 3+
Here you'll find our quick and easy salt dough recipe which work brilliantly for kids, plus lots of ideas for how to make salt dough ornaments!
This is a great craft to do together with friends and you can make gifts for each other too.

TIP: Remember salt dough has to bake long and slow (2-3 hours). It's best to make up the dough and make your ornaments early - before lunch perhaps - so that you are able to decorate them later in the day!
Salt Dough Recipe Instructions
Salt Dough Recipe
You will need:
2.5 cups of plain flour
2.5 cups table salt
200ml water
1 tablespoon vegetable oil
This will make enough dough for 3-4 children to make a good number of small ornaments each.
For the decorations
Cookie cutters (optional)
Poster paints or acrylics
PVA
Glitter (optional)
Clear varnish
Paintbrushes
Scraps of ribbon

1. To make up your salt dough recipe combine the flour, salt, oil and water in a bowl and mix it into a soft dough.

We used a knife to mix it all together as it broke up any lumpy bits, but with younger children you could use a spoon.
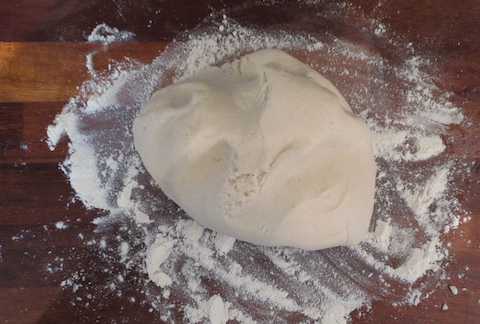
2. Once the dough is well mixed sprinkle flour on a large surface and knead the dough until it gets soft and stretchy. This will take a few minutes and you could divide the dough up if you have a number of kids so they can each knead their own bit.
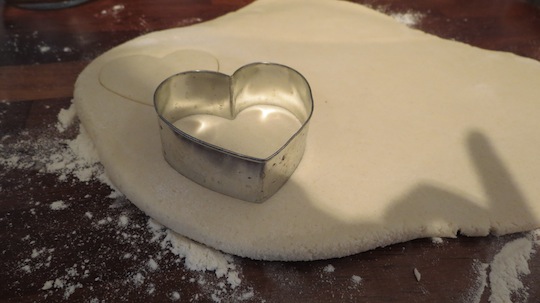
3. Roll out the dough to about 1-1.5 cm thick - this does not matter too much but it must not be too thin or the ornament might snap. Then make different ornament shapes using things like cookie cutters, bottle tops, a blunted knife etc. In this picture we were using a heart cookie cutter.
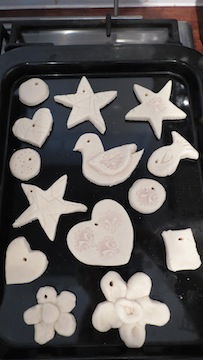 |
4. Here are some of our ornaments ready for baking. We made the stars and hearts with cookie cutters and the round pendants with milk bottle lids. The smaller fish, bird and hearts were cut out by hand, and the flowers were moulded by hand too. Make sure to skewer a decent size hole through the top with a skewer or straw. We cooked the dough for 30 minutes at 170C (350F). Make sure you don't get distracted and leave them for too long or they start to burn - as we have out! At this heat, however, the shapes can fill with some air and get a bit bubbly. If you have the time you can cook them for longer (2-3 hours) at a much lower heat (100-120C). |
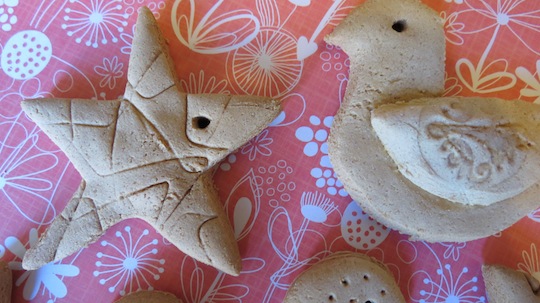
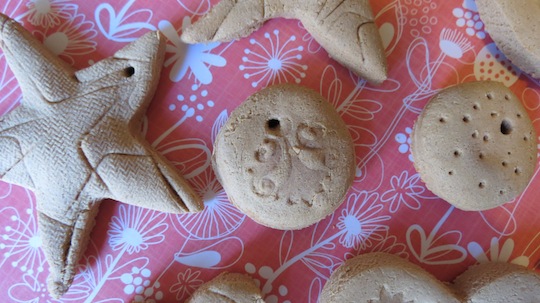
The close ups above show how on some of the shapes we impressed different shapes into the dough using the edge of cookie cutters and one of my stamps (normally used for ink). They added great textures to the surfaces of the shapes.
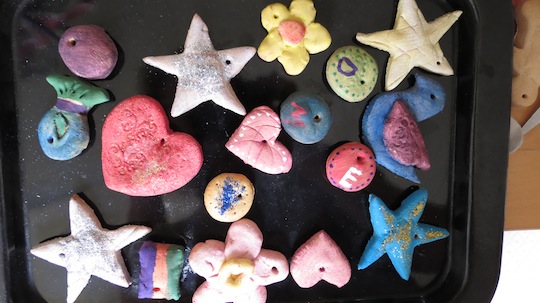
5. Once your salt dough ornaments are out of the oven and cool get to work with your decorations! We used poster paints (they work but you might need a to layer the paint. You can also use acrylic paints - which give a better colour - but are less easy to clean off clothes!)

You can spread PVA on top of your salt dough creations when the paint is properly dry, and try adding glitter to give some sparkly effects. We painted some of our initials onto the pendants for fun so we could hang them in our rooms.
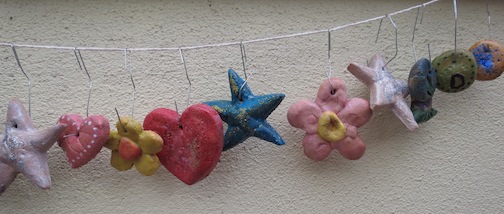
6. Once our salt dough shapes were dry (preferably overnight) I varnished each of them and hung them up to dry on a string with unbent paper clips. Make sure you fasten the string up really well as salt dough can get quite heavy!
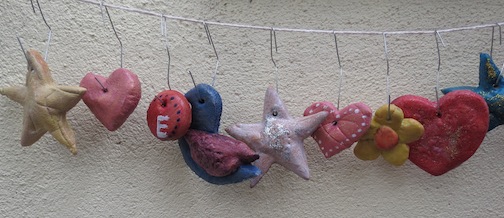
7. Once the varnish is dry hang your ornaments up with different coloured scraps of ribbon, string, thread or raffia.
We hope you found this salt dough recipe easy to make!
Enjoy letting your kids hang their salt dough ornaments around the home and why not give them to friends! Salt dough creations are brilliant for any season.
Are you looking for more craft ideas using salt dough? Try making salt dough Christmas decorations or see our ideas for valentine salt dough ornaments here.
Return from Salt Dough Recipe to Kids Craft Ideas
Back to Easy Crafts for Kids (Homepage)


